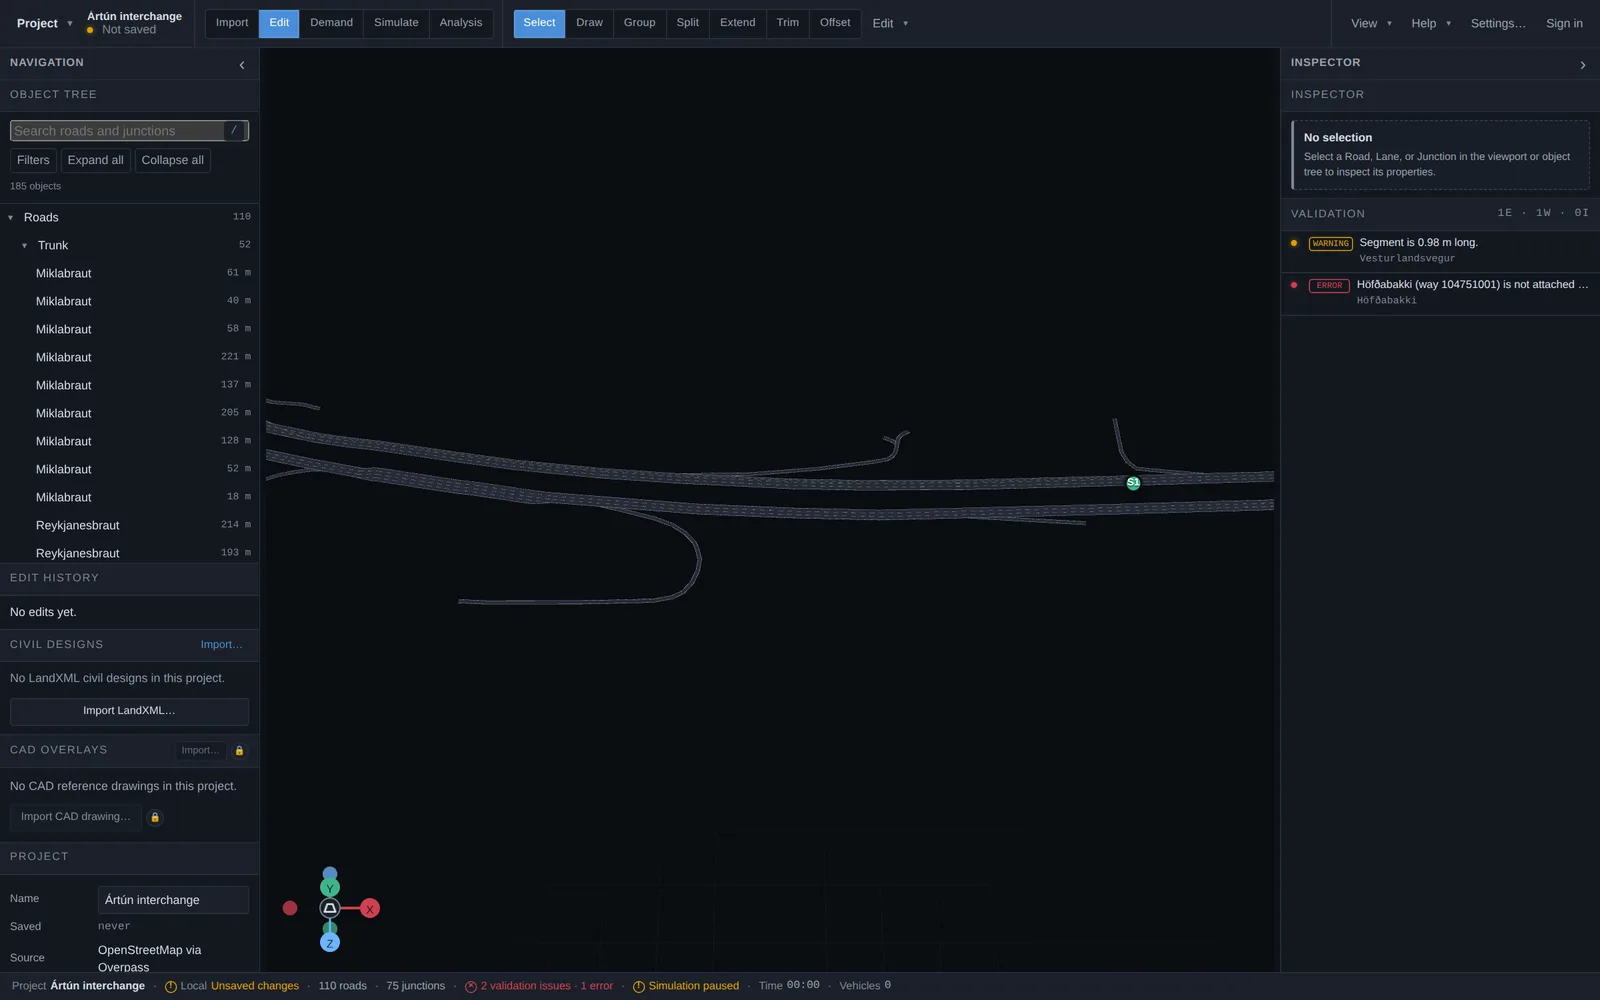
Editing the road network
The imported network is a model, not a picture — everything you see can be changed. Edit mode is where you reshape geometry, change lane counts and speeds, draw new roads, and close lanes or segments, all with full undo and redo.
Finding things: the object tree
The object tree in the left panel lists every road, junction and lane in the network, grouped by classification. Type in the search field (or press /) to filter by name or source identifier, and use Filters to narrow the tree by object type, road classification, validation warnings, the current viewport, or the current selection.
Clicking an entry selects it and slides the camera to it — the fastest way to move around a large network deliberately.
The inspector
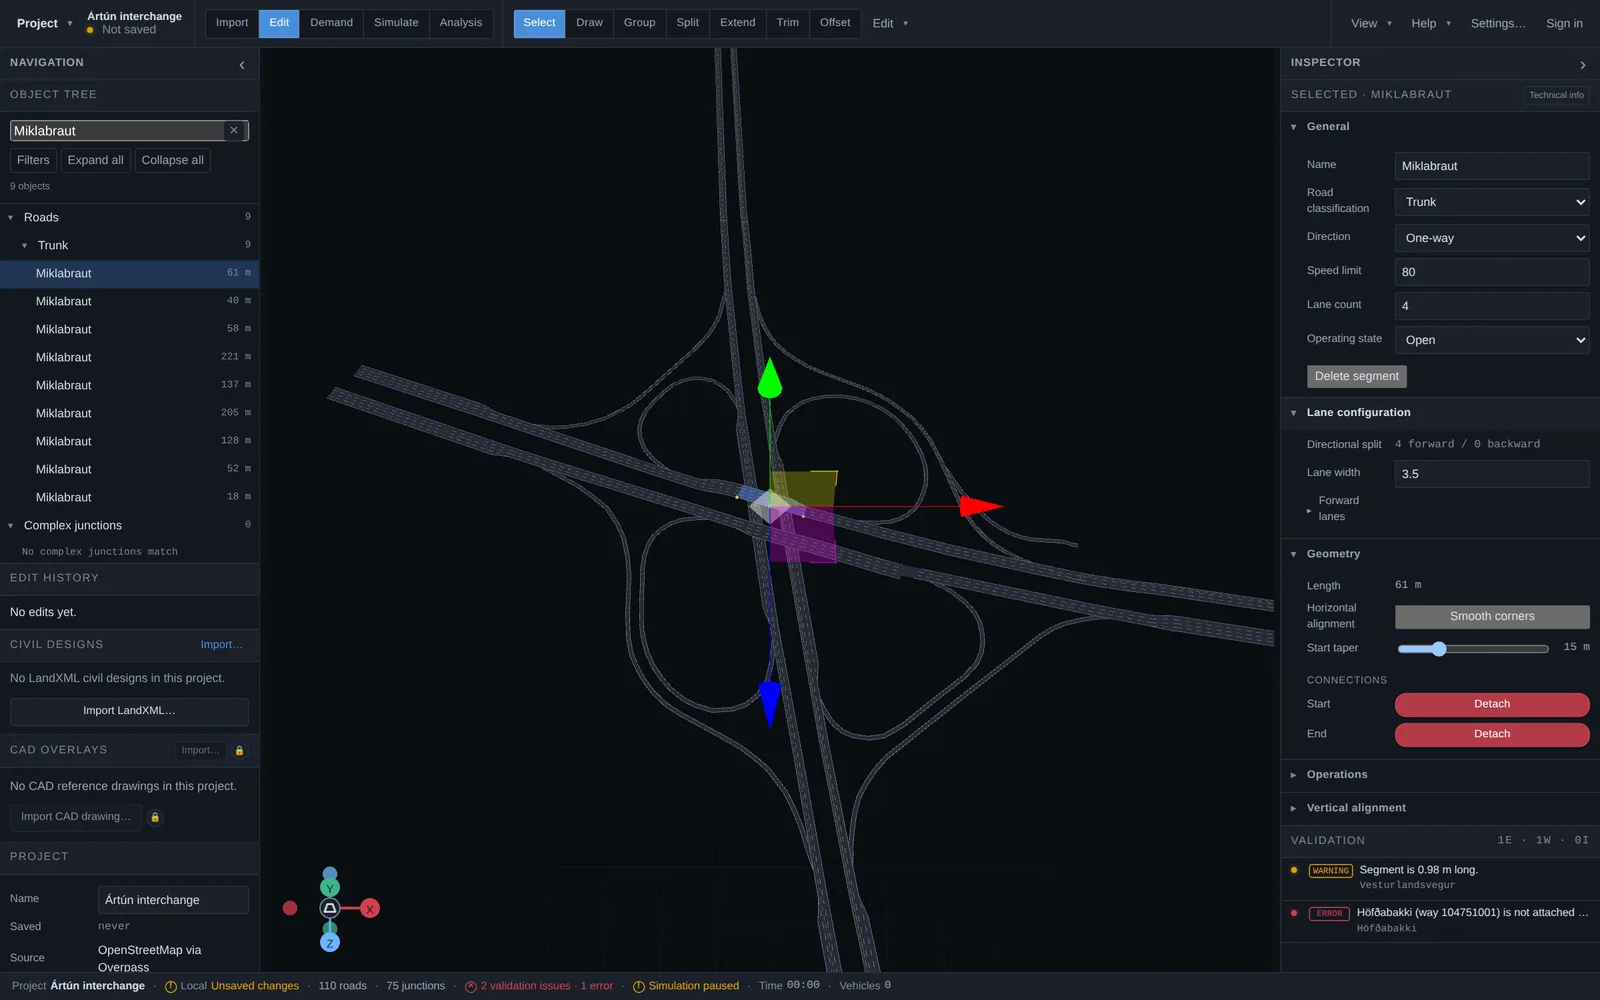
Selecting a road fills the inspector with its editable properties, organized into collapsible groups:
- General — name, road classification, direction (one-way or two-way), speed limit, lane count and operating state.
- Lane configuration — the forward/backward directional split, lane width, and per-lane details.
- Geometry — segment length, corner smoothing, start/end tapers, and detaching connections.
- Operations and Vertical alignment — closure state and elevation profile.
Edit tools
The toolbar offers a set of focused tools while in Edit mode. Select is the default; the others operate on roads you pick in the viewport:
- Select — click roads, lanes or junctions to inspect and move them.
- Draw — lay out new roads node by node (see below).
- Group — move connected geometry together.
- Split — cut a segment in two at a chosen point.
- Extend — continue a road from its end.
- Trim — shorten a road to a chosen point.
- Offset — create a parallel road at a fixed distance.
Drawing new roads
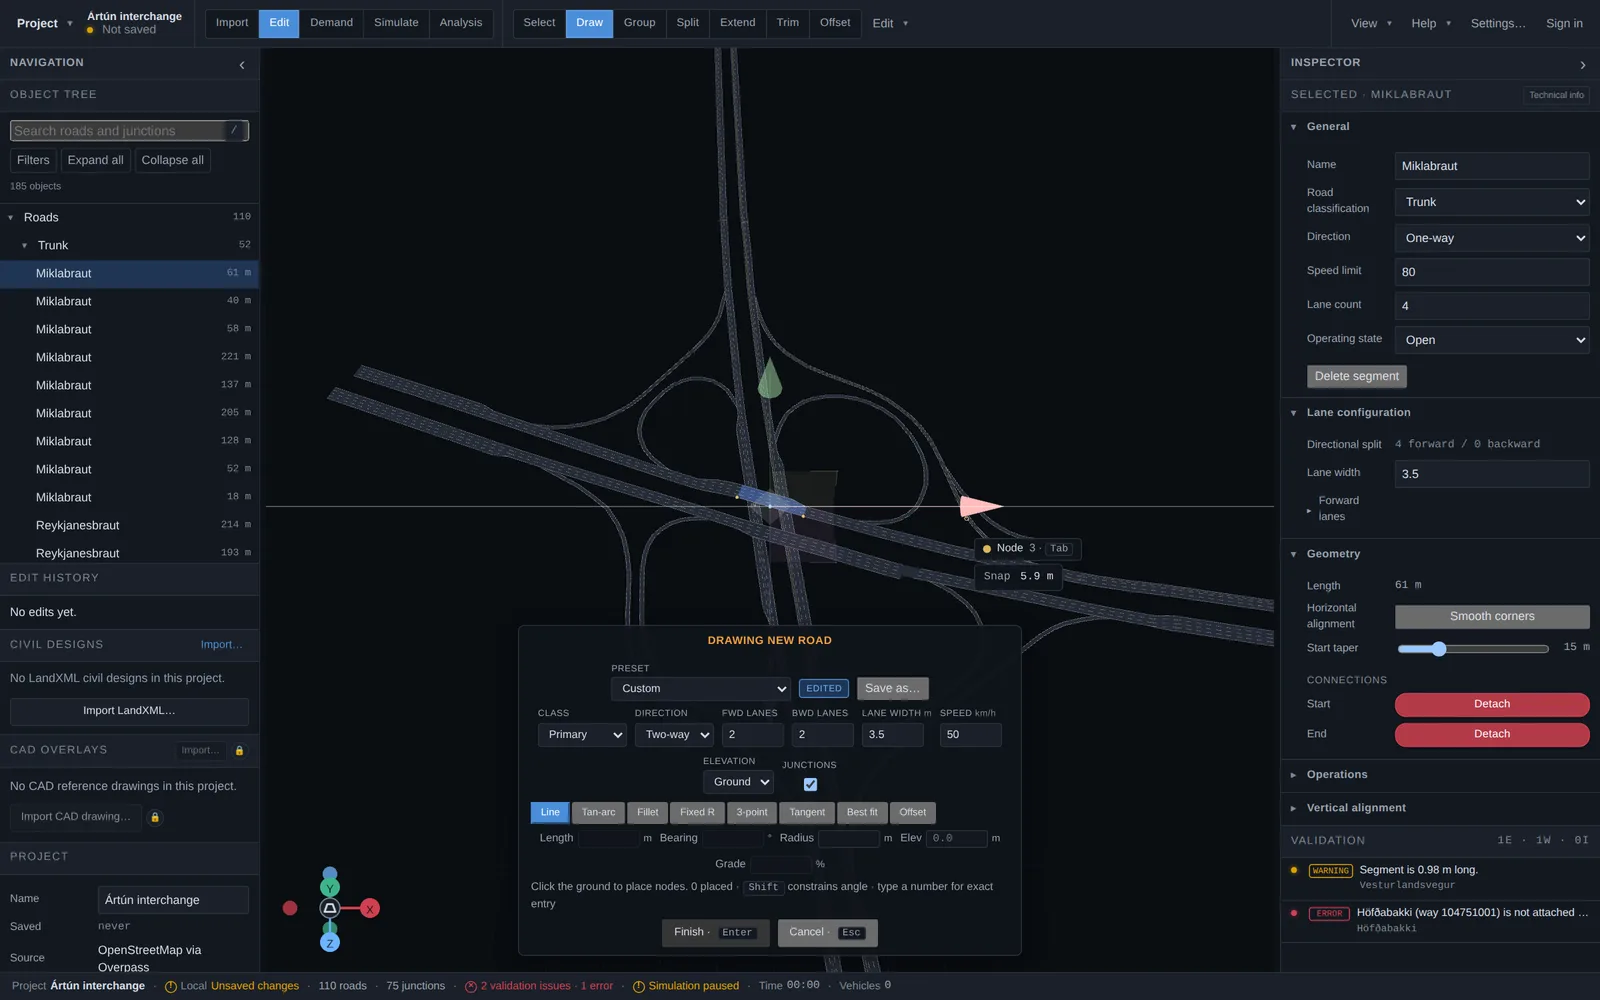
The Draw tool places nodes on the ground to define a new road's centerline. In the default polyline mode each click past the second commits the segment behind it as its own road segment, welded to the previous one — so a chain of clicks builds the network as you go, Enter commits the last pending piece and Esc simply stops drawing. Corners rounded with a fillet radius stay part of one continuous road, as do the curve helpers below. A heads-up panel lets you set the road class, direction, forward and backward lane counts, lane width, speed limit and elevation before or while drawing, and save the combination as a reusable preset. Geometry helpers — straight lines, tangent arcs, fillets, fixed-radius curves, three-point arcs, tangents, best-fit and offset segments — cover engineered layouts, and exact numeric entry (length, bearing, radius, grade) is available for precise work.
Snapping locks new nodes onto existing endpoints, junctions and nodes; hold Ctrl/Cmd to suspend it, press Tab to cycle overlapping targets, and R to drop a reference point. Snap tolerance and targets are configurable in Settings. With “Junctions” enabled, crossing an existing road creates the junction automatically.
Closures and operating state
Every road has an operating state — set it to closed to model a road closure without deleting anything, and vehicles will route around it during simulation. Individual lanes can be closed the same way from the lane configuration, which is the natural way to model work zones.
History and validation
Every edit is recorded in the Edit history panel with descriptive labels, and undo/redo (Ctrl/Cmd+Z) walks the full history. The Validation panel continuously lists warnings and errors — very short segments, unattached roads, suspect lane data — and clicking an issue takes you to the object concerned.