Getting started
Road Mesh runs entirely in a modern desktop browser with WebGL — there is nothing to install. You can use it without an account: projects are ordinary files on your machine, and a cloud account is an optional upgrade, never a requirement.
The workspace at a glance
The workspace is organized around five workflow steps, shown as tabs in the toolbar: Import, Edit, Demand, Simulate and Analysis. Each step changes what the panels around the viewport show, but never where you are looking: camera position, zoom, selection and your place in the workflow all survive switching between steps, so you can hop from editing a junction to watching traffic drive through it without losing context.
- Toolbar — the Project menu (new, open, save, samples, exports), the five workflow steps, mode-specific tools, and the View, Help and Settings menus.
- Left panel — navigation for the current step: search and road classes in Import, the object tree and edit history in Edit, traffic sources and profiles in Demand, throughput in Simulate, study runs in Analysis.
- Viewport — the 2D map in Import and the 3D network view everywhere else.
- Inspector (right panel) — properties of whatever is selected, plus network validation results.
- Status bar — project name, save state, road and junction counts, validation issues and simulation state.
Start from a sample project
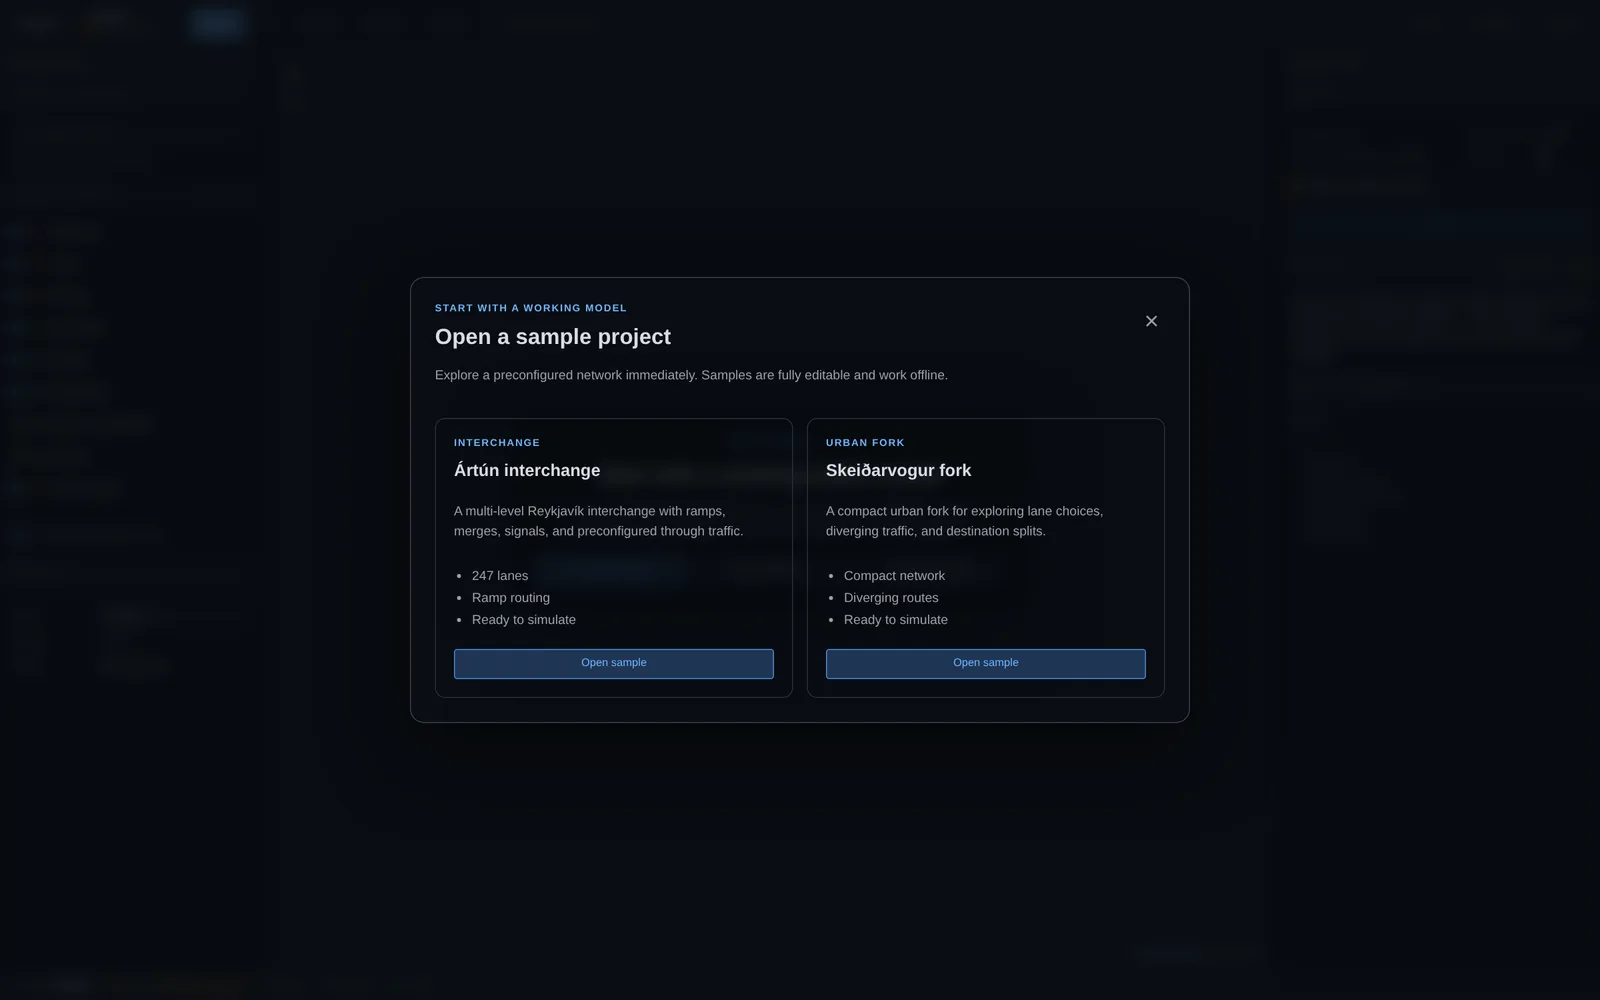
The fastest way to see the whole workflow is a built-in sample. Open the Project menu and choose “Sample projects…”, then pick one — samples are fully editable, preconfigured with traffic demand, and work offline:
- Ártún interchange — a multi-level Reykjavík interchange with ramps, merges, signals and through traffic, ready to simulate.
- Skeiðarvogur fork — a compact urban fork for exploring lane choices, diverging traffic and destination splits.
The guided tour
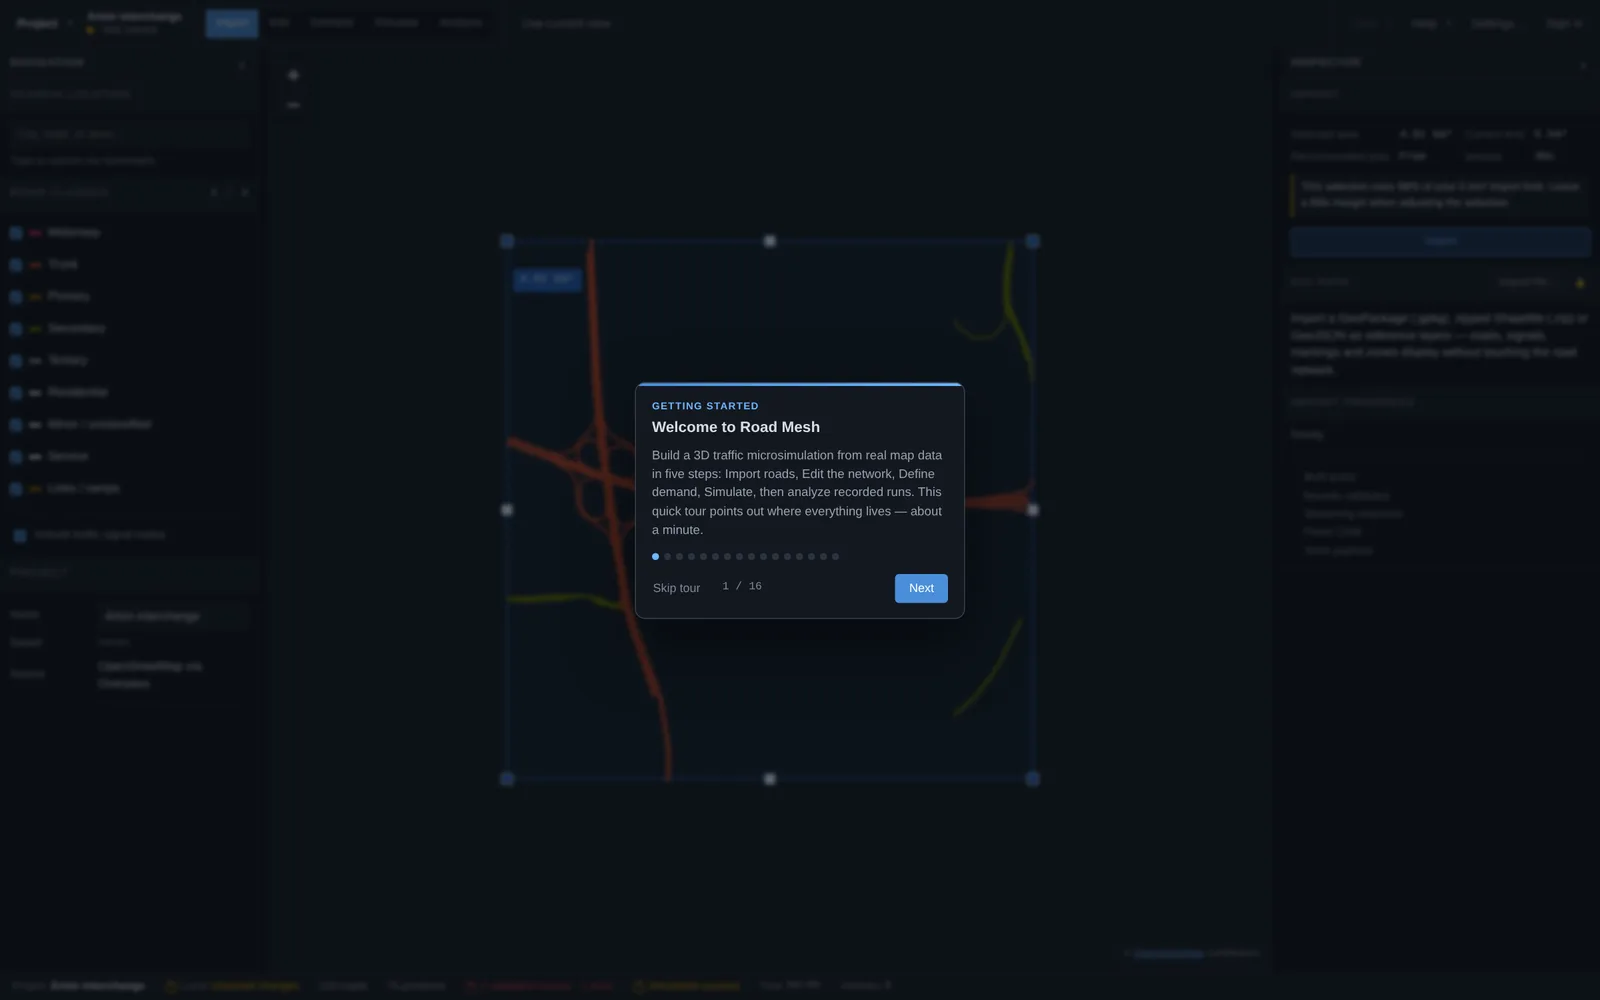
On your first visit Road Mesh offers a short guided tour that points out where everything lives — it takes about a minute and walks through all five workflow steps. You can restart it at any time from Help → “Take guided tour”, and Help → “Keyboard shortcuts…” lists every shortcut in the app.
Navigating the 3D view
Two navigation schemes are available, switchable in Settings. The default Orbit scheme works like common 3D tools: drag to orbit, right-drag to pan, wheel to zoom. The Flythrough scheme is a first-person camera: hold the right mouse button to look around, move with WASD, go up and down with E and Q, boost with Shift and adjust fly speed with the wheel.
The View menu also offers layer toggles, a camera reset and “frame all roads”, and clicking an object in the Edit-mode object tree slides the camera to it.
Saving your work
Projects are saved as .tsim.json files through the Project menu — directly to disk in browsers that support file-system access, or as a download elsewhere. A project file contains everything: the imported source data, the editable network, traffic demand, and your saved view. Older project files are upgraded automatically when opened.
If you sign in, the Project menu additionally offers cloud projects with automatic sync — see the Projects, files and cloud chapter.